


If you prefer direct automation and integrating doMail into your own application, our platform provides a full-featured REST API interface. Each active instance includes its own dedicated REST Endpoint, interactive Swagger UI documentation, and supports advanced transactional email dispatch.
1. Where to find your API credentials?
Sending emails via REST API requires registration and your own doMail instance. After logging into the client portal, navigate to the bottom section under WEB SERVICES & AUTOMATION (WS) to find all necessary endpoints and access keys:
| Parameter | Value / Format |
|---|---|
| REST Endpoint URL | https://{tenantId}.cloud.domail.io/ws/domail-input-rest |
| Swagger UI URL | https://{tenantId}.cloud.domail.io/ws/swagger-ui.html |
| Username | ws |
| Password | View by clicking the eye icon in the WS section |
2. Swagger UI and interactive documentation
After clicking the REST OpenAPI link in your account, an authentication
window will appear. Enter the username ws and your generated WS
password.
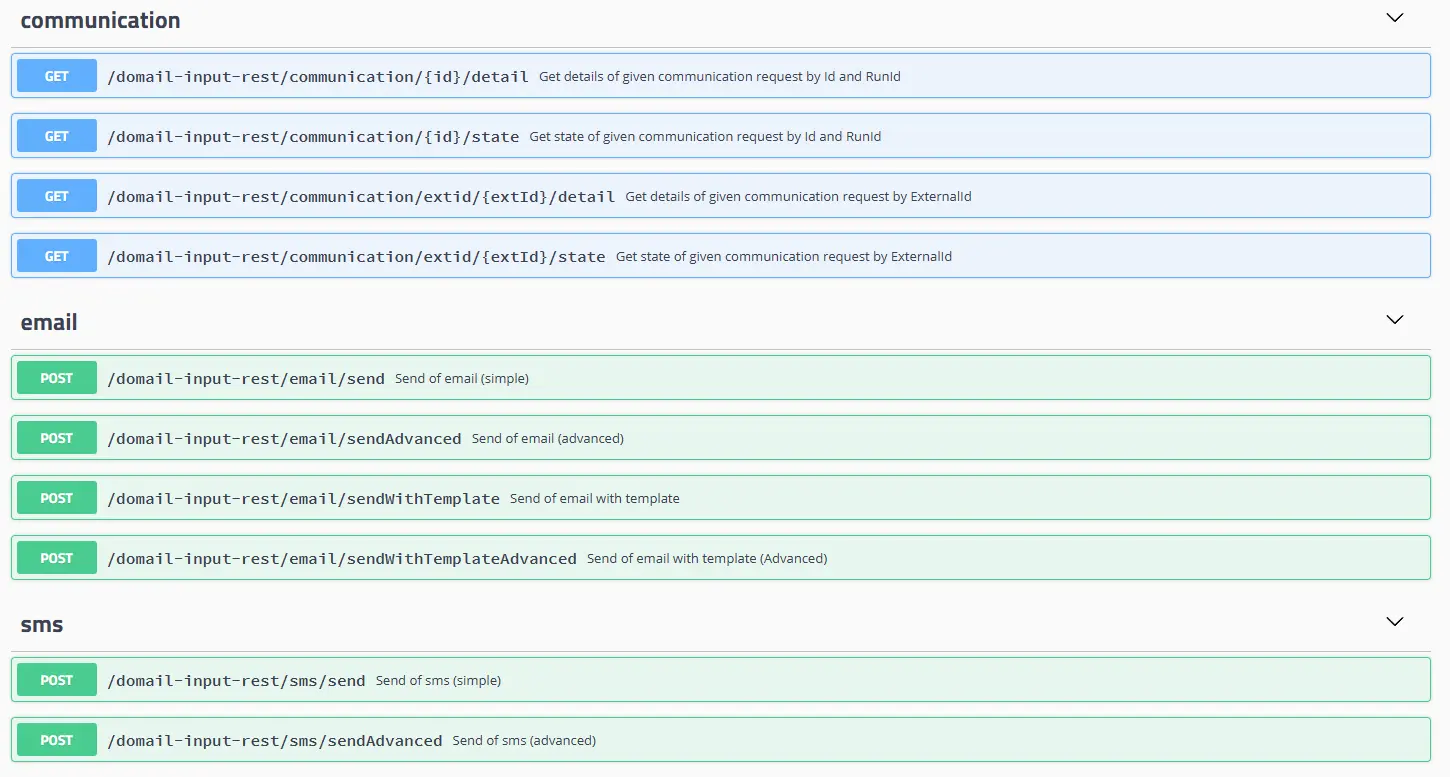
This gives you access to the interactive Swagger UI documentation. Here you can easily inspect JSON schemas for sending emails as well as real-time delivery status tracking.
3. Video tutorial: Integration in practice
Watch a short visual walkthrough of configuring access credentials and executing the Python script in Visual Studio Code:
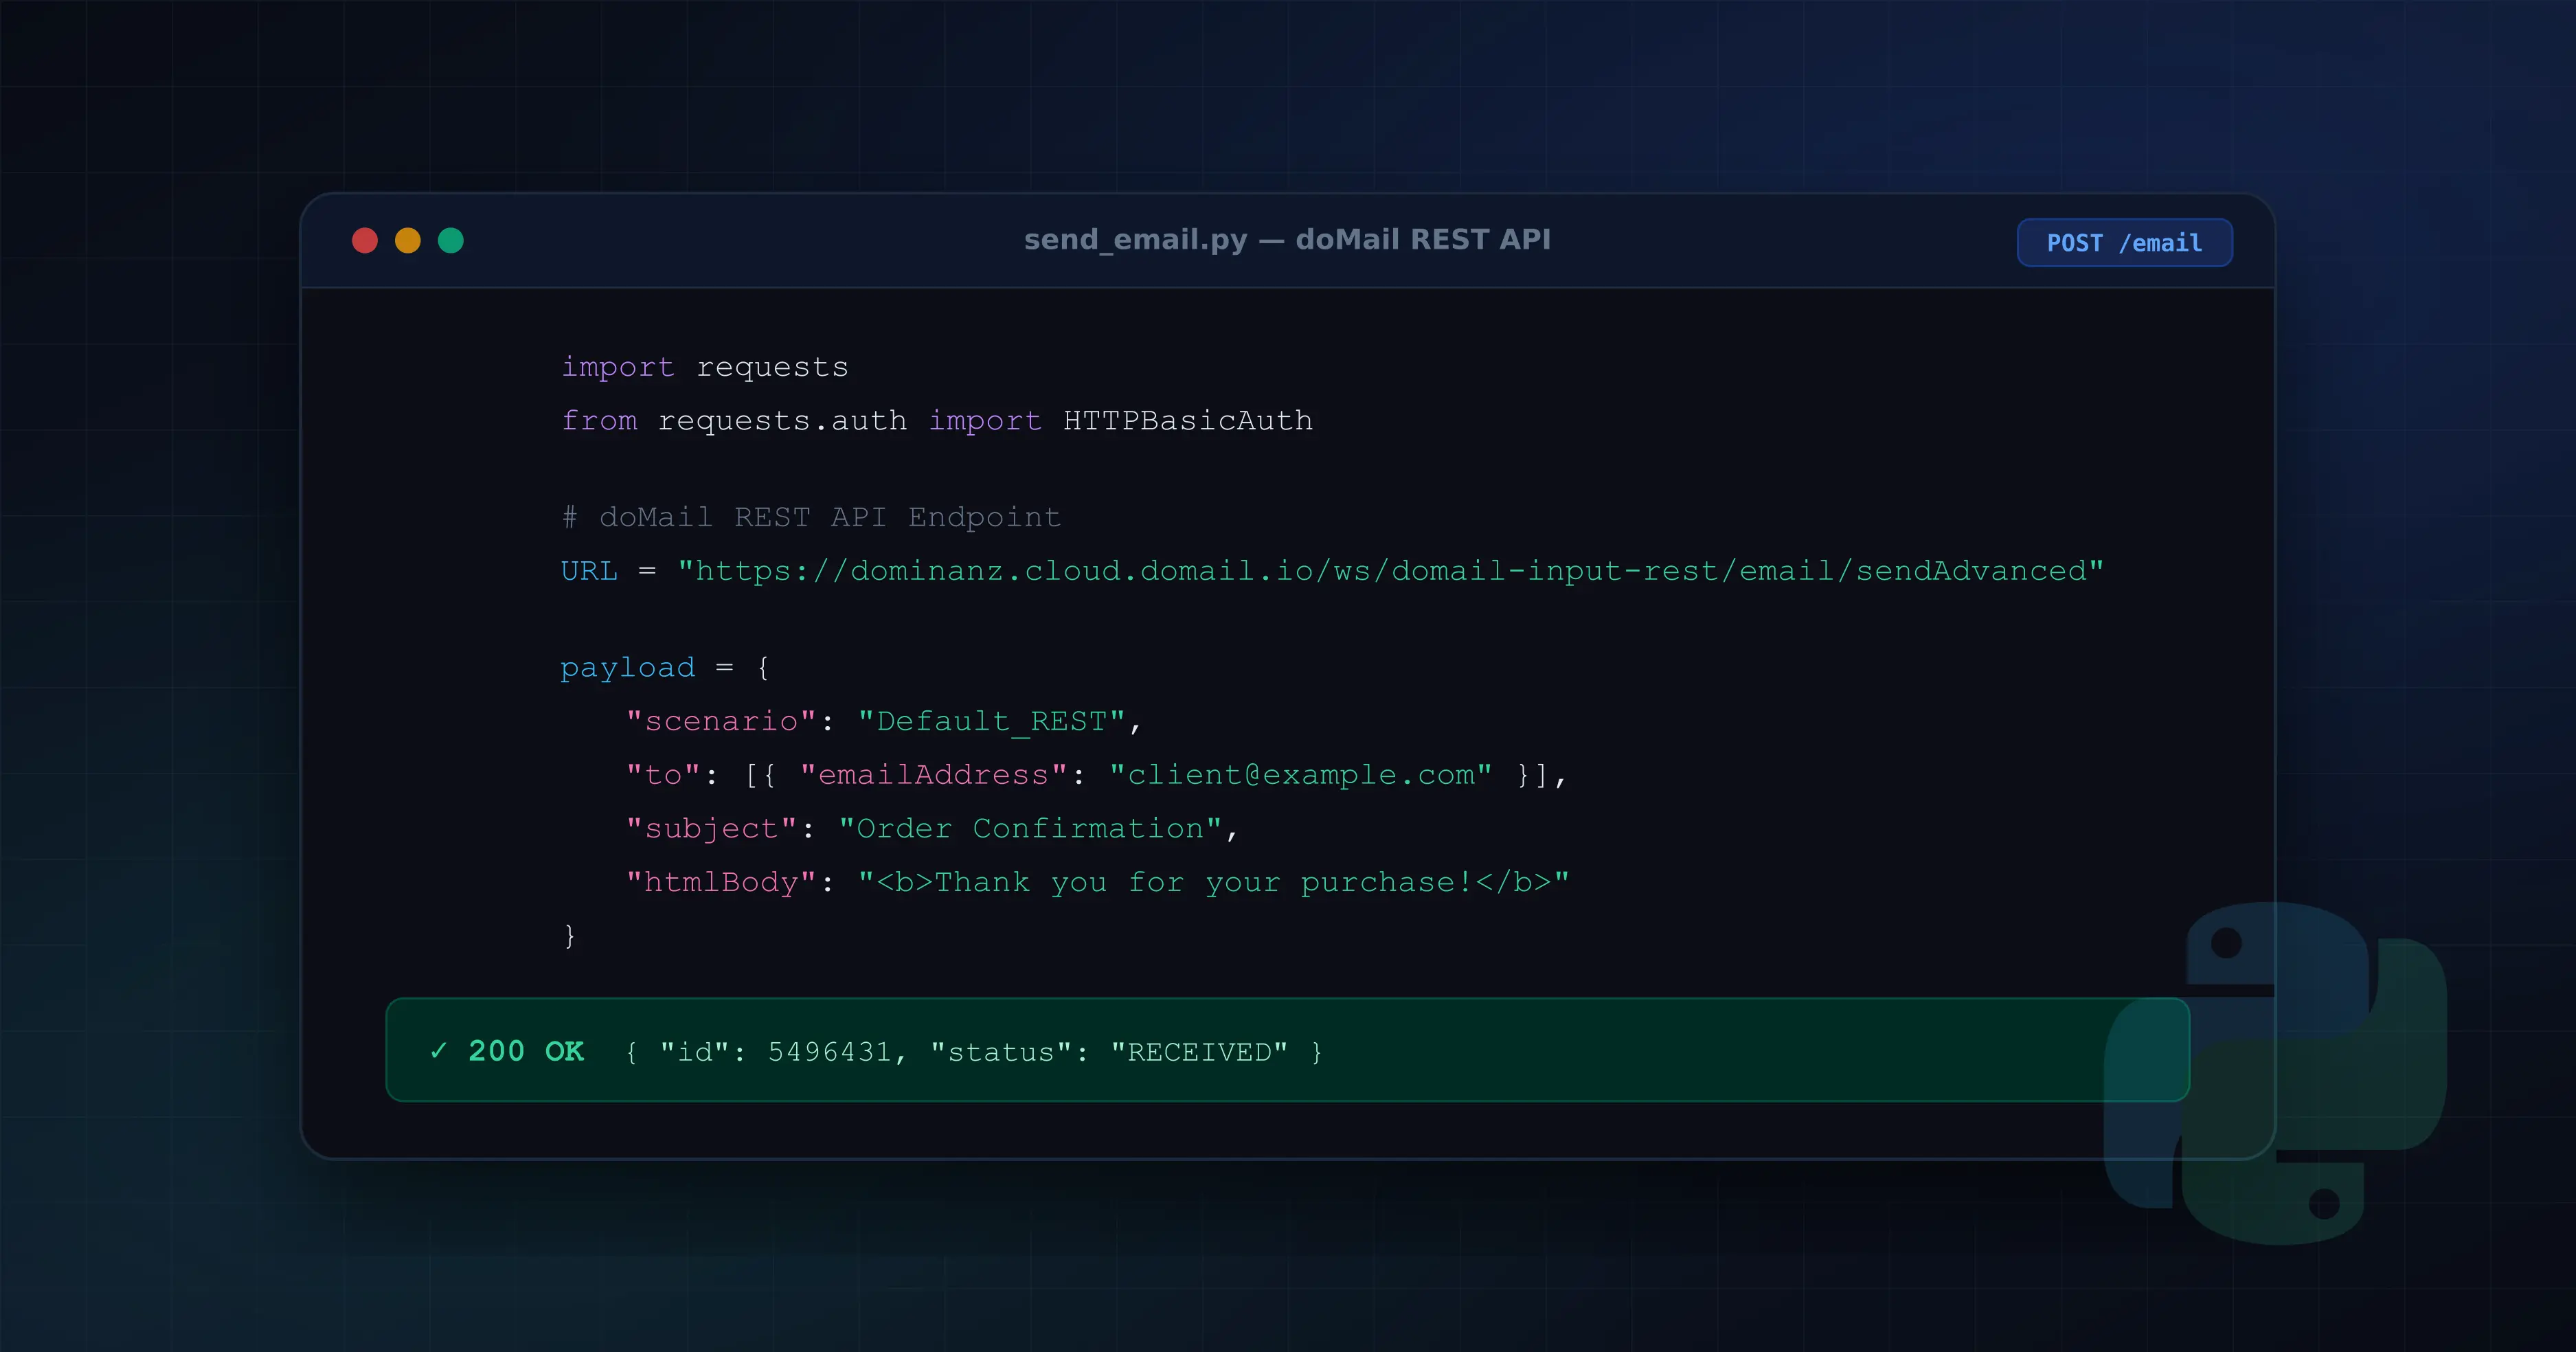
4. Sending an email via Python script
For this demonstration, we will use the /email/sendAdvanced
endpoint. This endpoint allows sending an email with a full HTML body and adding custom categorization for
statistics.
Requirements:
- Installed Python 3.x.
- The
requestslibrary (installation via command:pip install requests).
Create a file named send_email.py and paste the following code
into it:
# send_email.py — Sending a transactional email via doMail REST API
import requests
from requests.auth import HTTPBasicAuth

# 1. Access Configuration
TENANT_ID = "dominanz"          # ⚠️ REPLACE: Your tenantId
API_USER = "ws"                 # Standard username from WS section
API_PASSWORD = "YOUR_WS_PASSWORD" # ⚠️ REPLACE: Generated WS password

# REST Endpoint URL
URL = f"https://{TENANT_ID}.cloud.domail.io/ws/domail-input-rest/email/sendAdvanced"

# 2. Preparing email communication data
payload = {
    # Pre-configured scenario "Default_REST" or custom SOAP/REST type
    "scenario": "Default_REST",
    "sysId": "2842",                 # ID of your sending system
    "extId": "201",                  # Unique transaction ID for matching
    "to": [
        {
            "addressName": "Martin",
            "emailAddress": "example@domail.io"  # ⚠️ REPLACE: Recipient's email
        }
    ],
    "subject": "Test message via Python REST API",
    "htmlBody": "<b>Hello,</b><p>this is a test HTML email sent via Python script.</p>",
    "testmode": False,

    # Optional categorization for filtering and clean statistics
    "statistics": {
        "group": "E-shop",
        "operation": "REST",
        "category": "Python",
        "tags": ["domail", "advanced"]
    },

    "advancedRequestData": {
        "duplicity": True
    }
}

# 3. Sending POST request with HTTP Basic Authentication
try:
    response = requests.post(
        URL,
        json=payload,
        auth=HTTPBasicAuth(API_USER, API_PASSWORD)
    )
    response.raise_for_status()

    # Print successful server response
    print(f"Response Code: {response.status_code}")
    print("Response Content:", response.json())

except requests.exceptions.HTTPError as e:
    print(f"An error occurred: {e}")
    if e.response is not None:
        print(e.response.json())
5. Running the script and verifying delivery
Execute the script in your terminal using the command:
If the access credentials are correct, the console will display the status code 200 OK and the server will return a JSON containing the generated communication identifier:
Response Content: {'id': 106}
After sending, log into the doMail UI web interface; under the Communications section, you will see your freshly processed email.
Conclusion and important integration notes
The REST API provides maximum flexibility when integrating doMail with your internal systems. When developing, we recommend keeping several key principles in mind:
- Optional statistics object: Values in the
statisticssection serve for categorization. They help you precisely filter messages in doMail analytical charts by operation type or notification tags. - Batch sending: The sample demonstrates sending a single message, but in production deployment, you can run API calls in a loop for any number of recipients.
- SMS communication: Sending SMS messages via REST API is disabled in standard testing mode and is enabled upon request.